


How to Customize Your Showit Template as a Wedding Photographer
An intentional, creative, no-code guide to building a photography website that actually feels like you
In the wedding industry, first impressions are everything. Your website is often the very first glimpse a couple gets into your world—the tone of your brand, the emotion behind your images, and the care you bring to every love story you capture. And yet, so many wedding photographers struggle to make their website reflect the same artistry they bring to their photos.
Enter: Showit templates.
Designed for full creative freedom—without code—Showit allows you to build a website that feels like you. But here’s the secret: the power of a template doesn’t lie in using it “as is.” It’s in how you customize it to reflect your brand, your voice, your aesthetic.
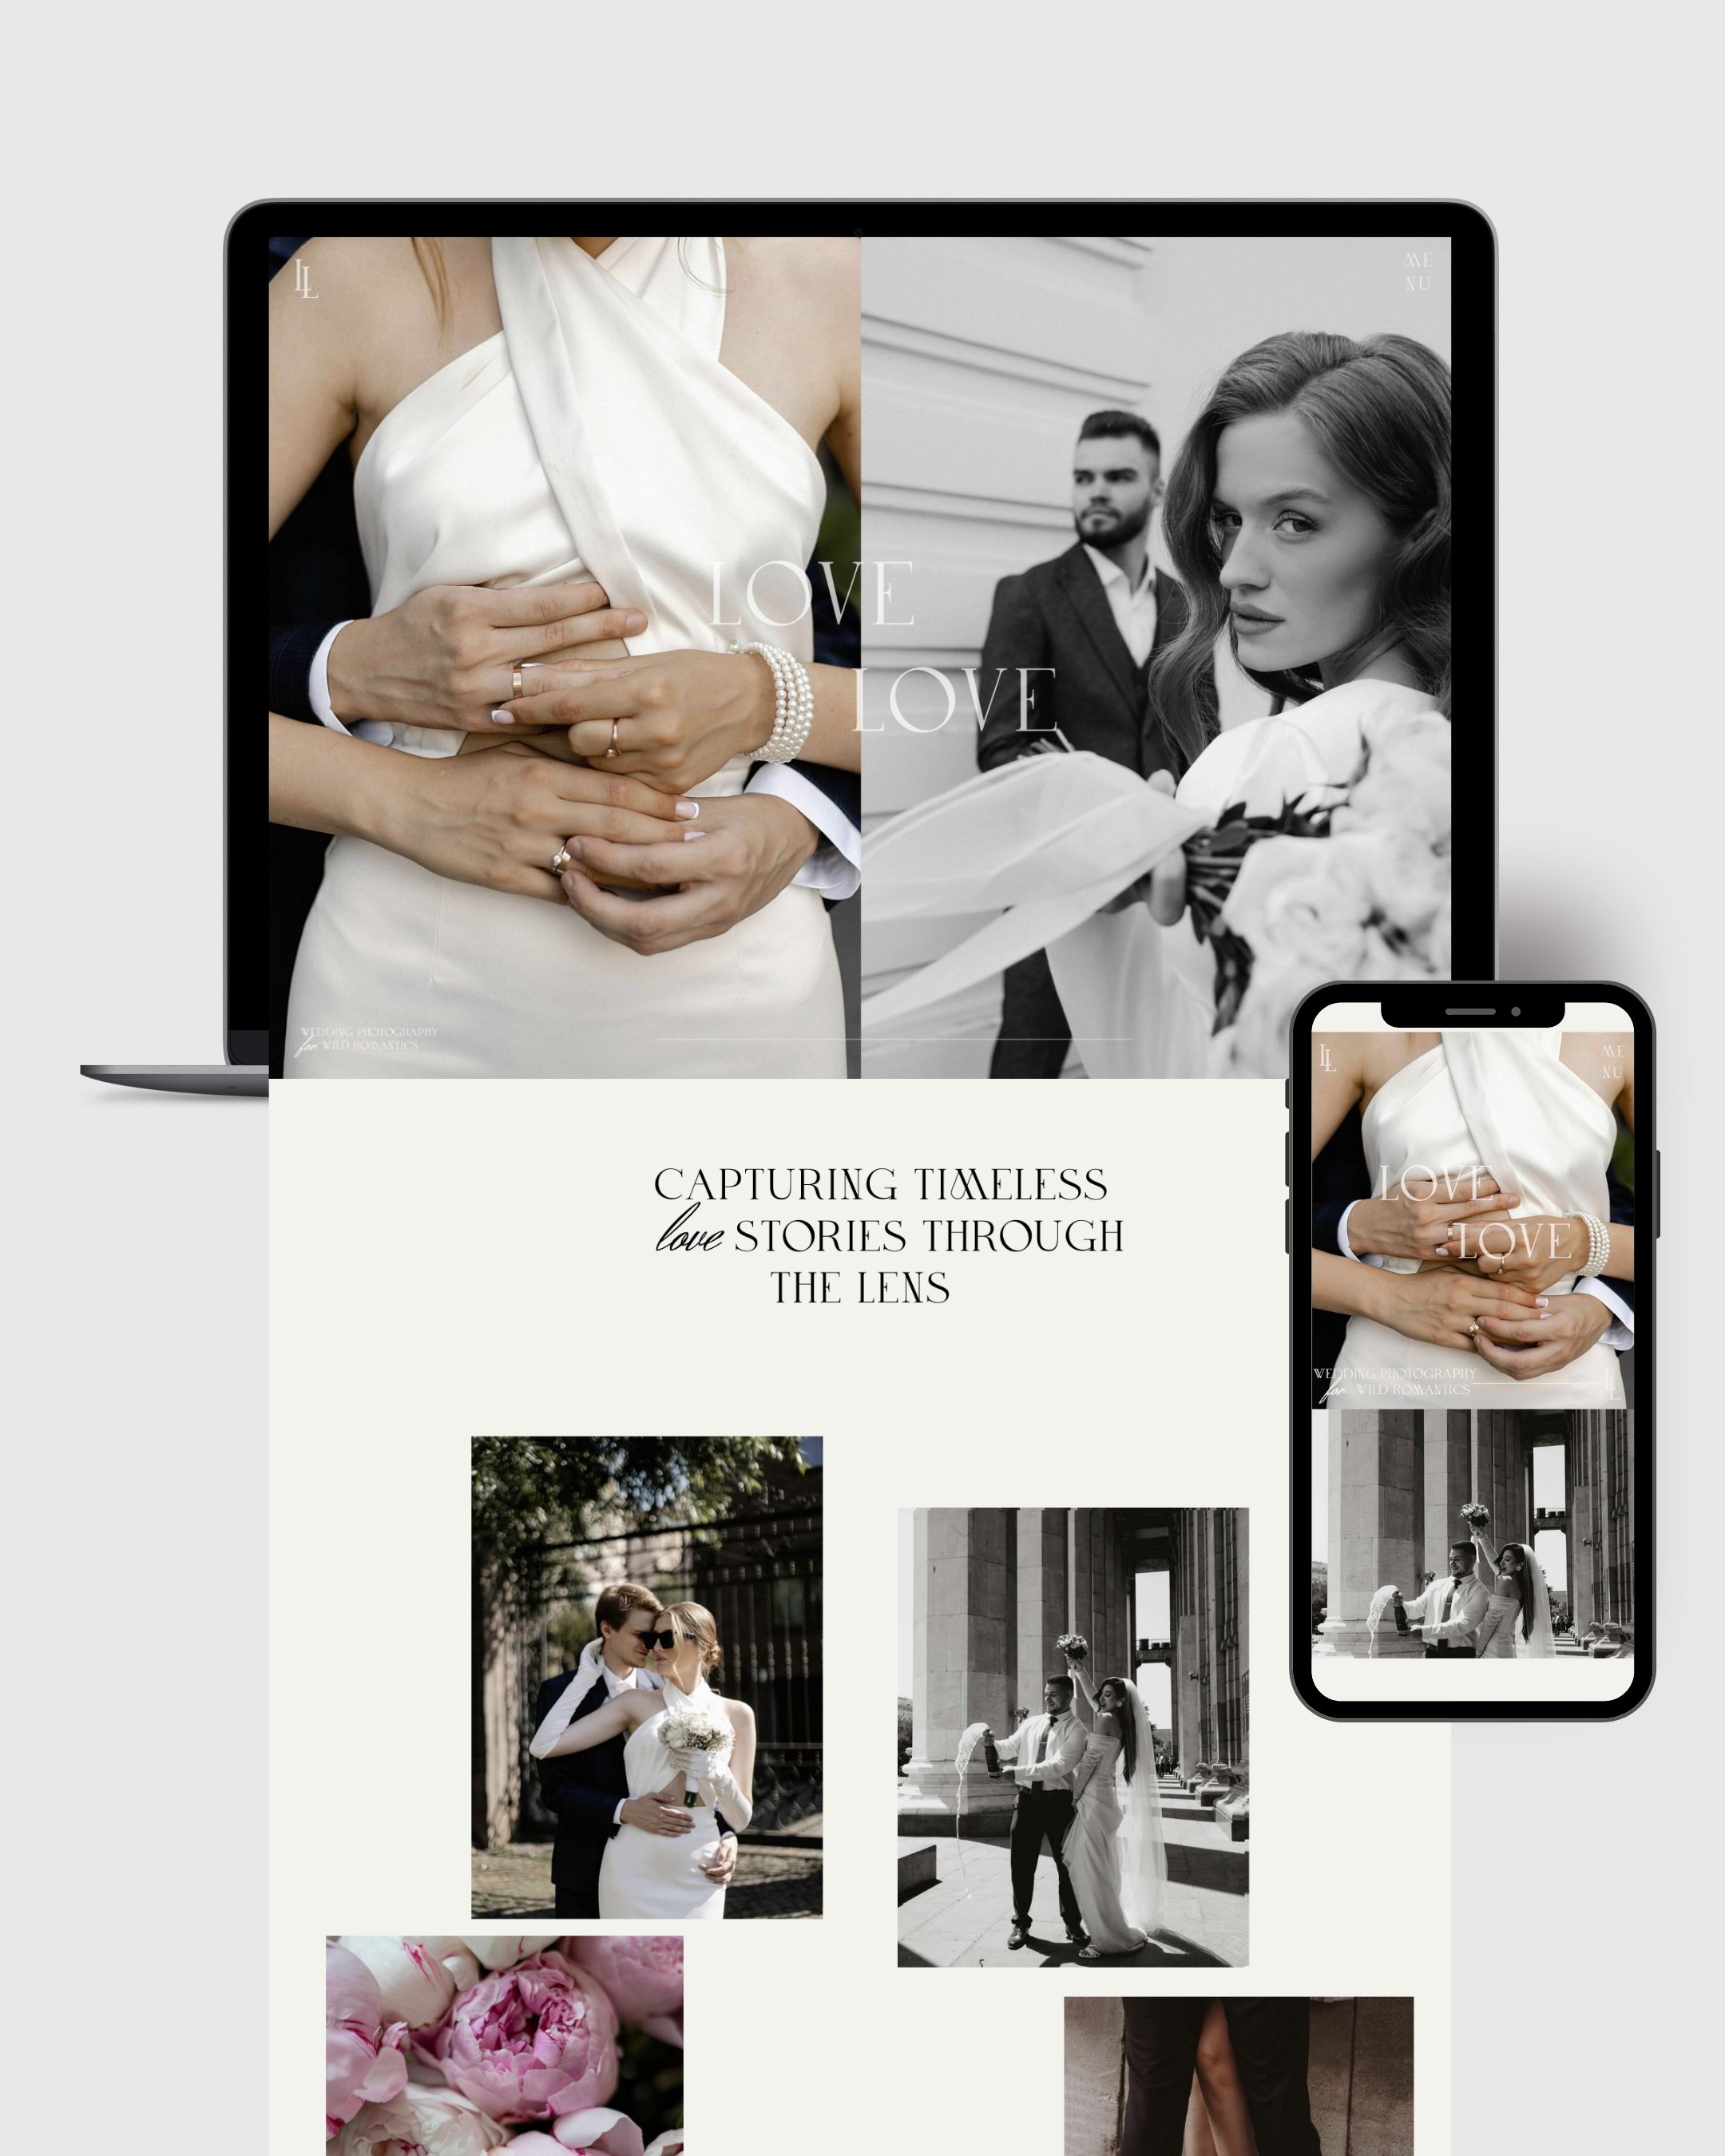
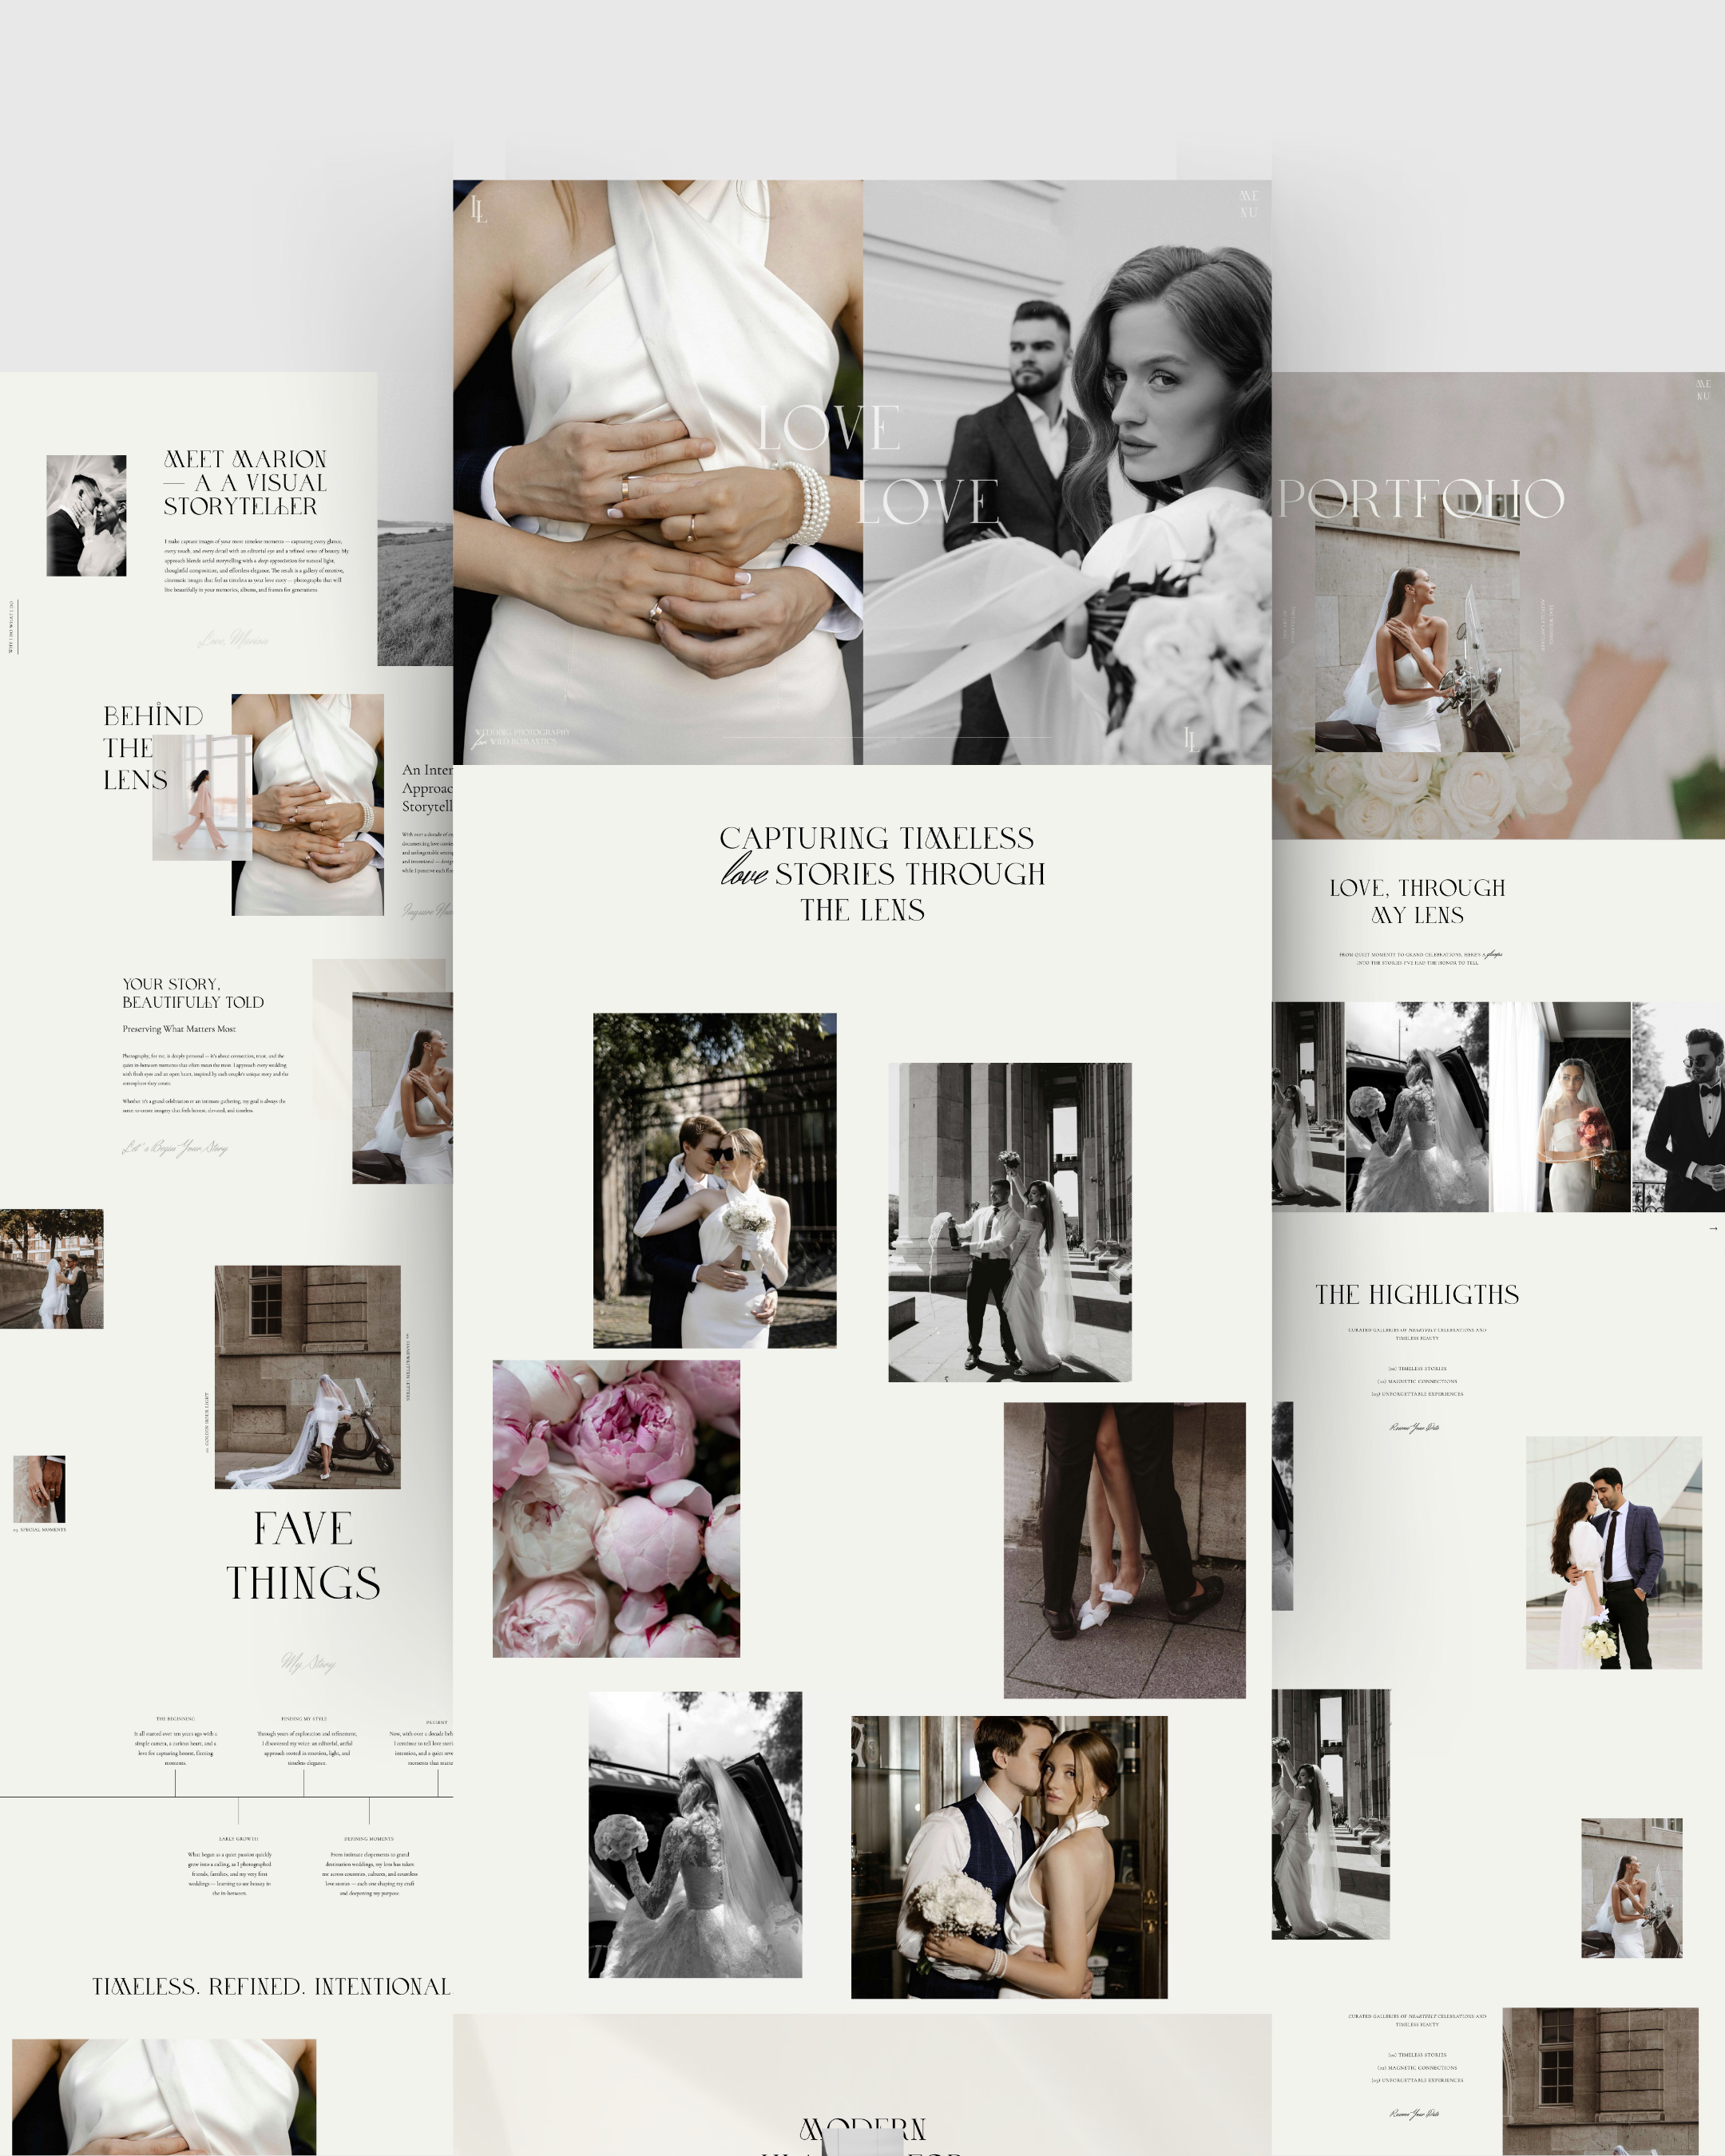
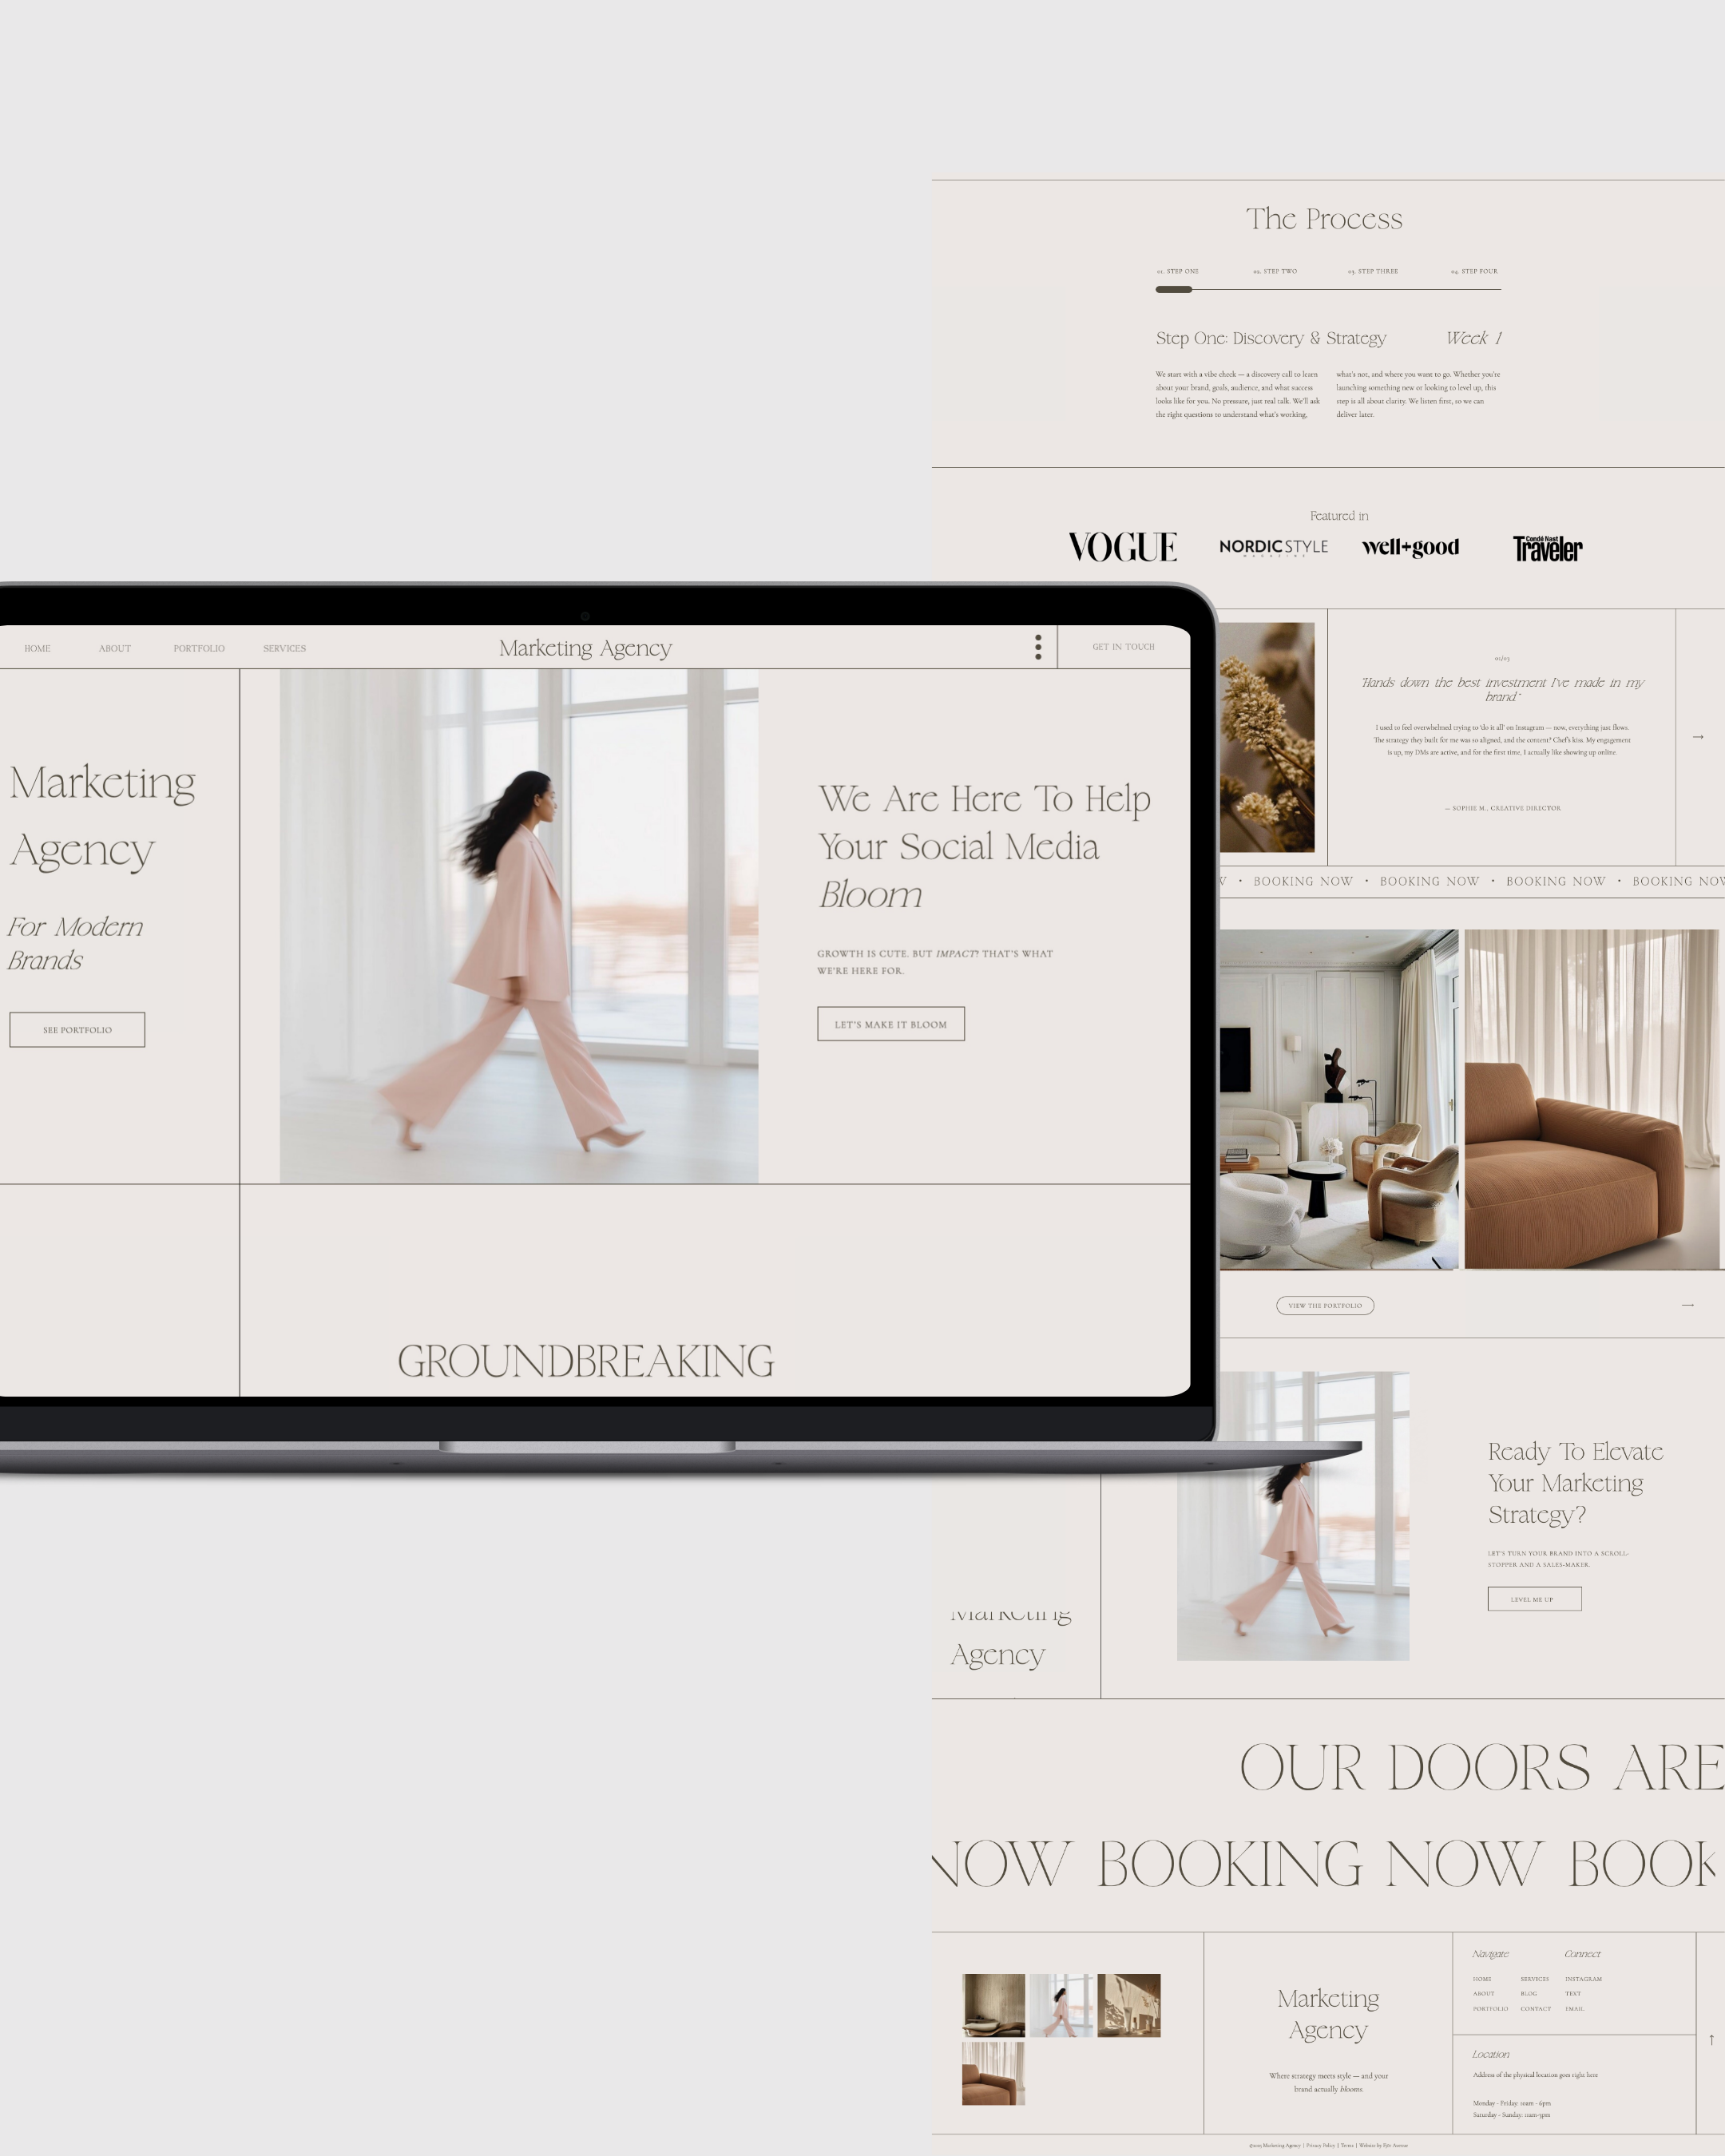
In this guide, we’re breaking down exactly how to do that. Whether you’re using the Love Love Template by Fjōr Avenue or another Showit design, here’s how to transform it into a website that not only looks stunning, but actually sells your photography.
Why Customizing a Showit Template Is Worth Your Time
Let’s be honest: dragging and dropping is fun. But customizing a website isn’t just about aesthetics. It’s about building trust and creating a seamless client experience—before someone ever sends an inquiry.
A thoughtfully customized website:
-
Helps you stand out in a saturated market
-
Aligns with your photography style (moody, light and airy, editorial, etc.)
-
Answers client questions in your brand voice
-
Builds a visual identity that clients remember
-
Increases time on page, SEO rankings, and inquiries
The good news? Showit makes it easy. With no coding and total design freedom, you can launch a site that’s both beautiful and strategic.
Let’s walk through exactly how.
Step 1: Set Up Your Showit Account and Template
Before you customize anything, make sure you’ve got the essentials in place:
-
Purchase your Showit subscription.
Choose the Showit + Basic Blog or Advanced Blog plan if you want to blog (which we highly recommend for SEO). This gives you both the design freedom of Showit and the blogging power of WordPress. -
Add your template via Share Key.
After purchasing a template (like Love Love), you’ll receive a Share Key. Simply log into your Showit account, click "Your Designs" > "Add Design to Library" > "Shared Design Key" and paste it in. Voilà—your new site will appear, ready to edit.
Step 2: Customize the Branding — Fonts, Colors & Logos
This is where your site begins to feel like you.
-
Upload your logo.
Head to Site Settings > Site Canvas > Header and upload your logo as a PNG or SVG. Update both desktop and mobile views for consistency. -
Adjust the color palette.
Navigate to Design Settings > Site Style to update your color palette. Most templates come with a preset brand scheme, but you can easily adjust these swatches to match your brand’s tones—whether you’re soft and romantic or bold and dramatic. -
Choose your fonts.
Showit allows you to upload custom fonts (if you have the license), or choose from their font library. Be consistent—choose 2 to 3 fonts max (headline, subhead, body text) and stick with them throughout.
Pro tip: Use your existing brand style guide if you have one. If you don’t, now is a great time to create one.
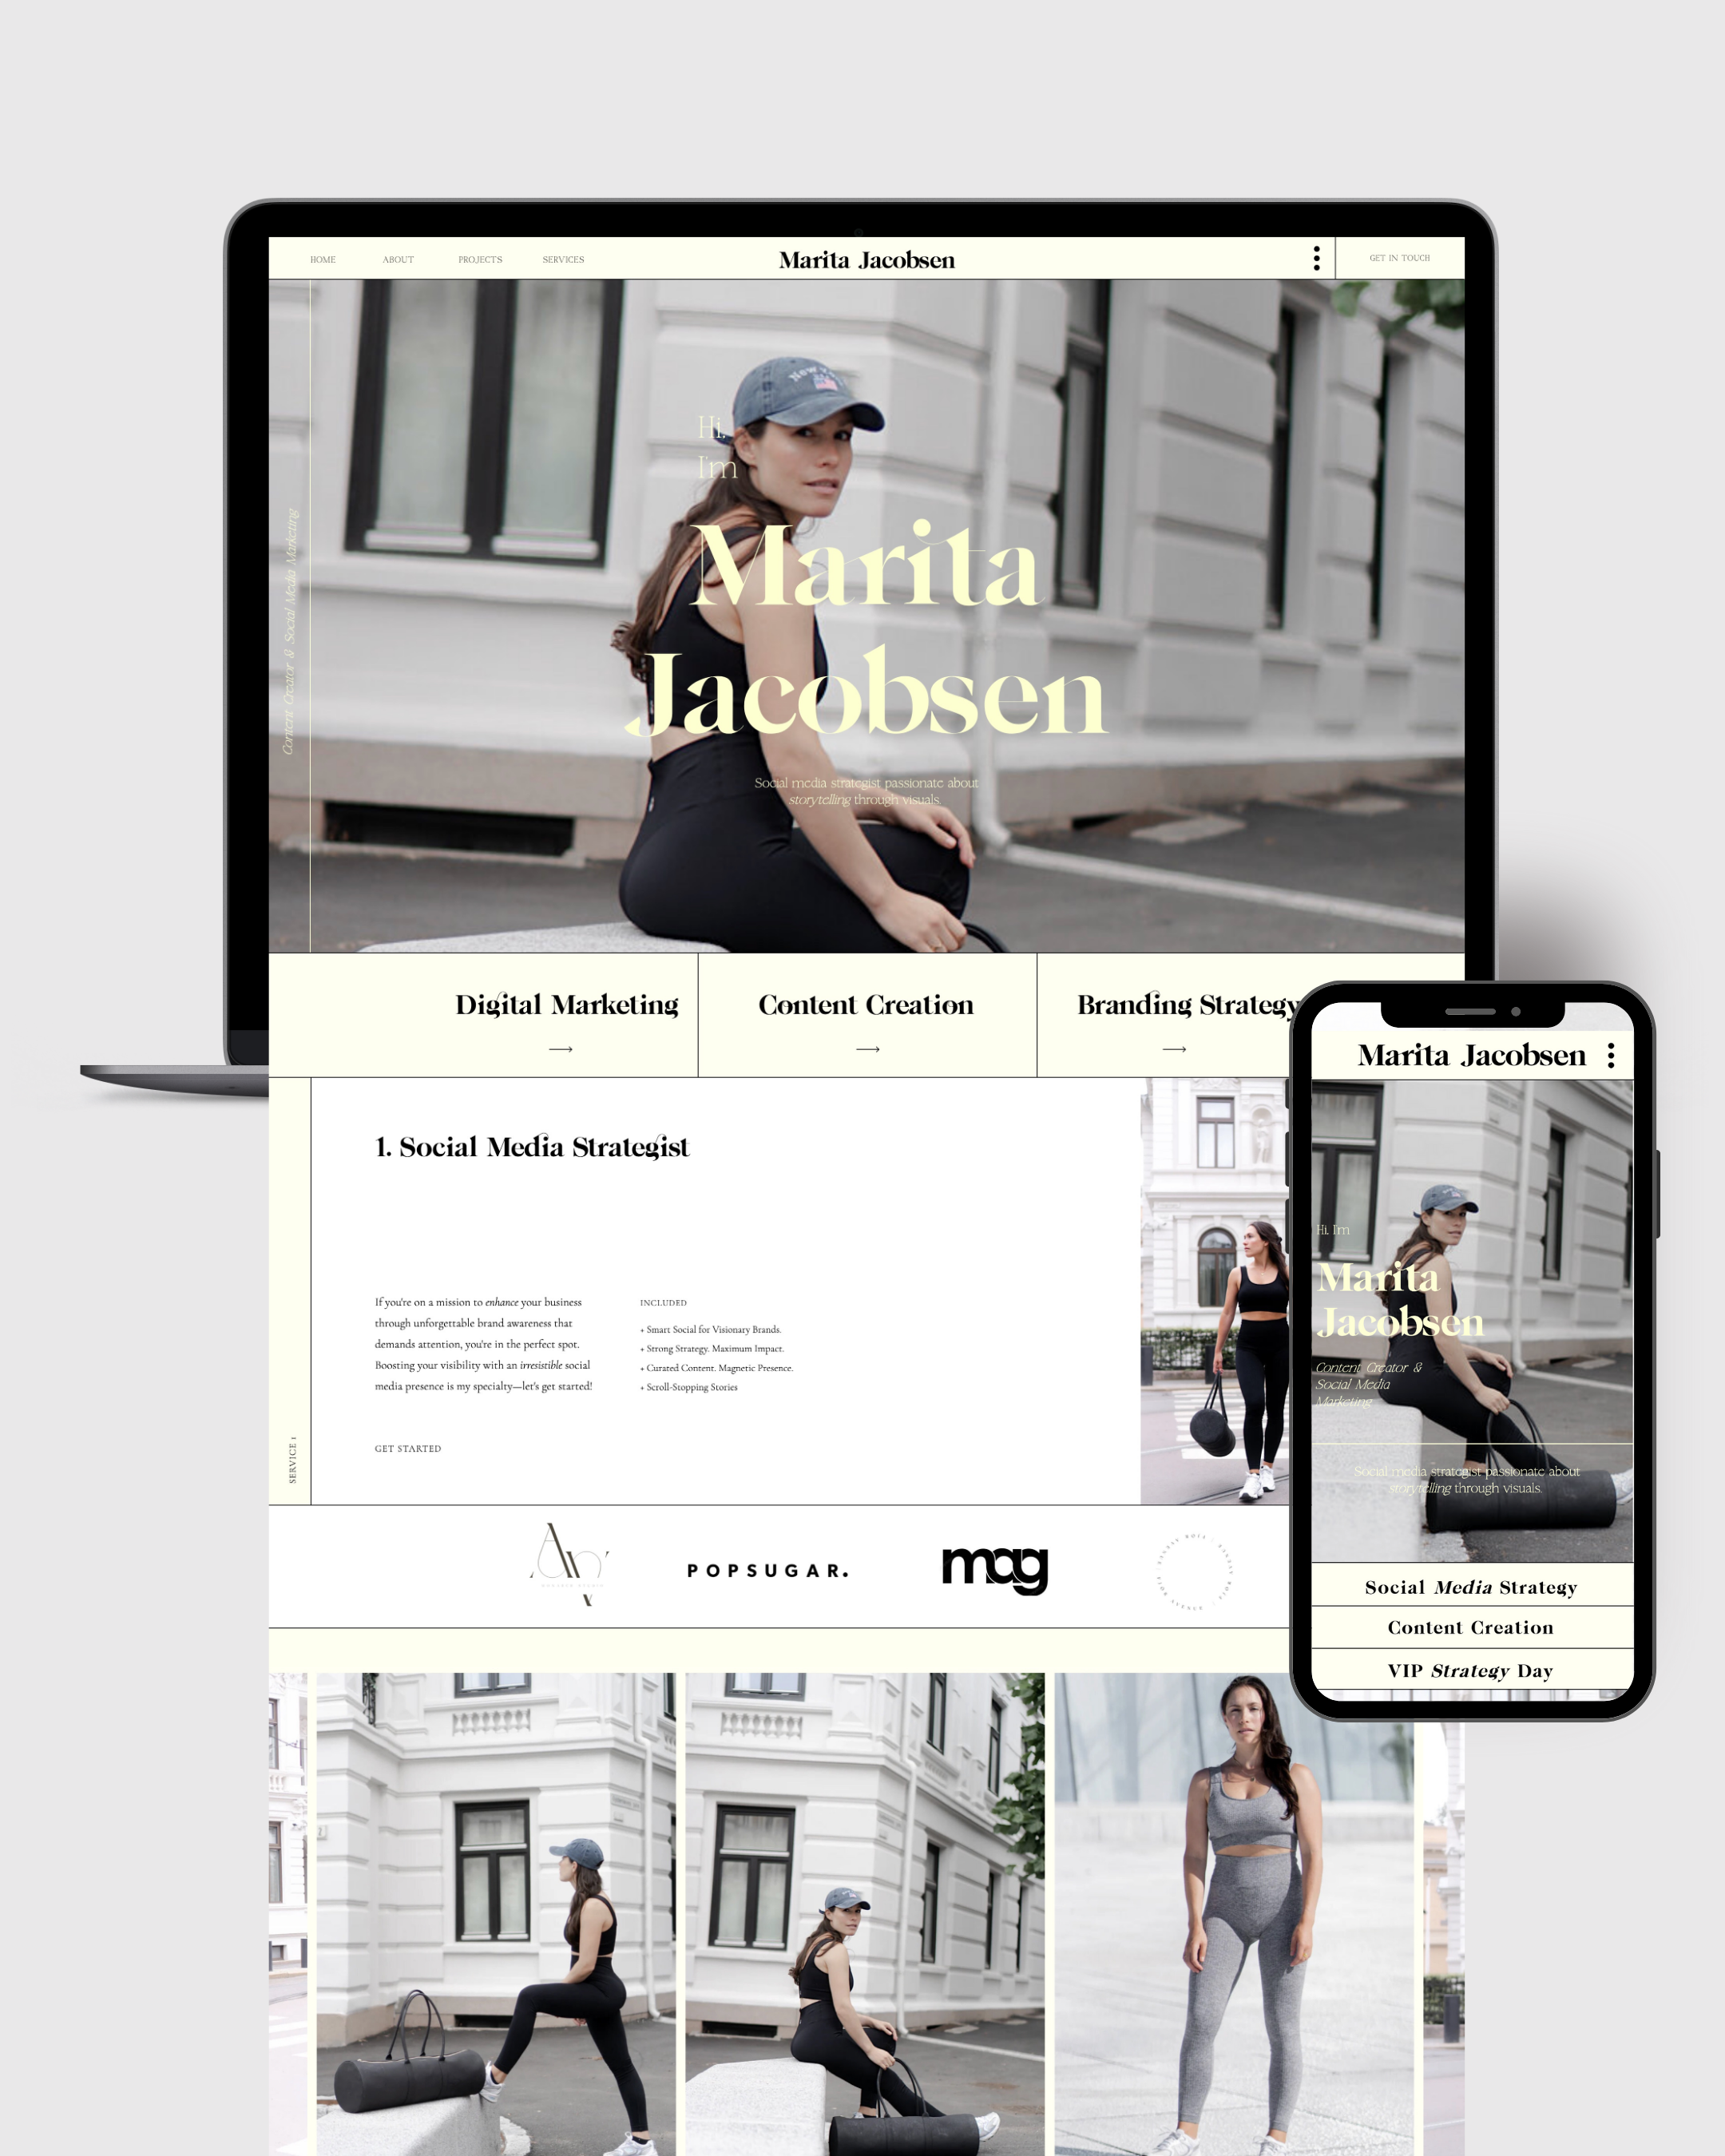
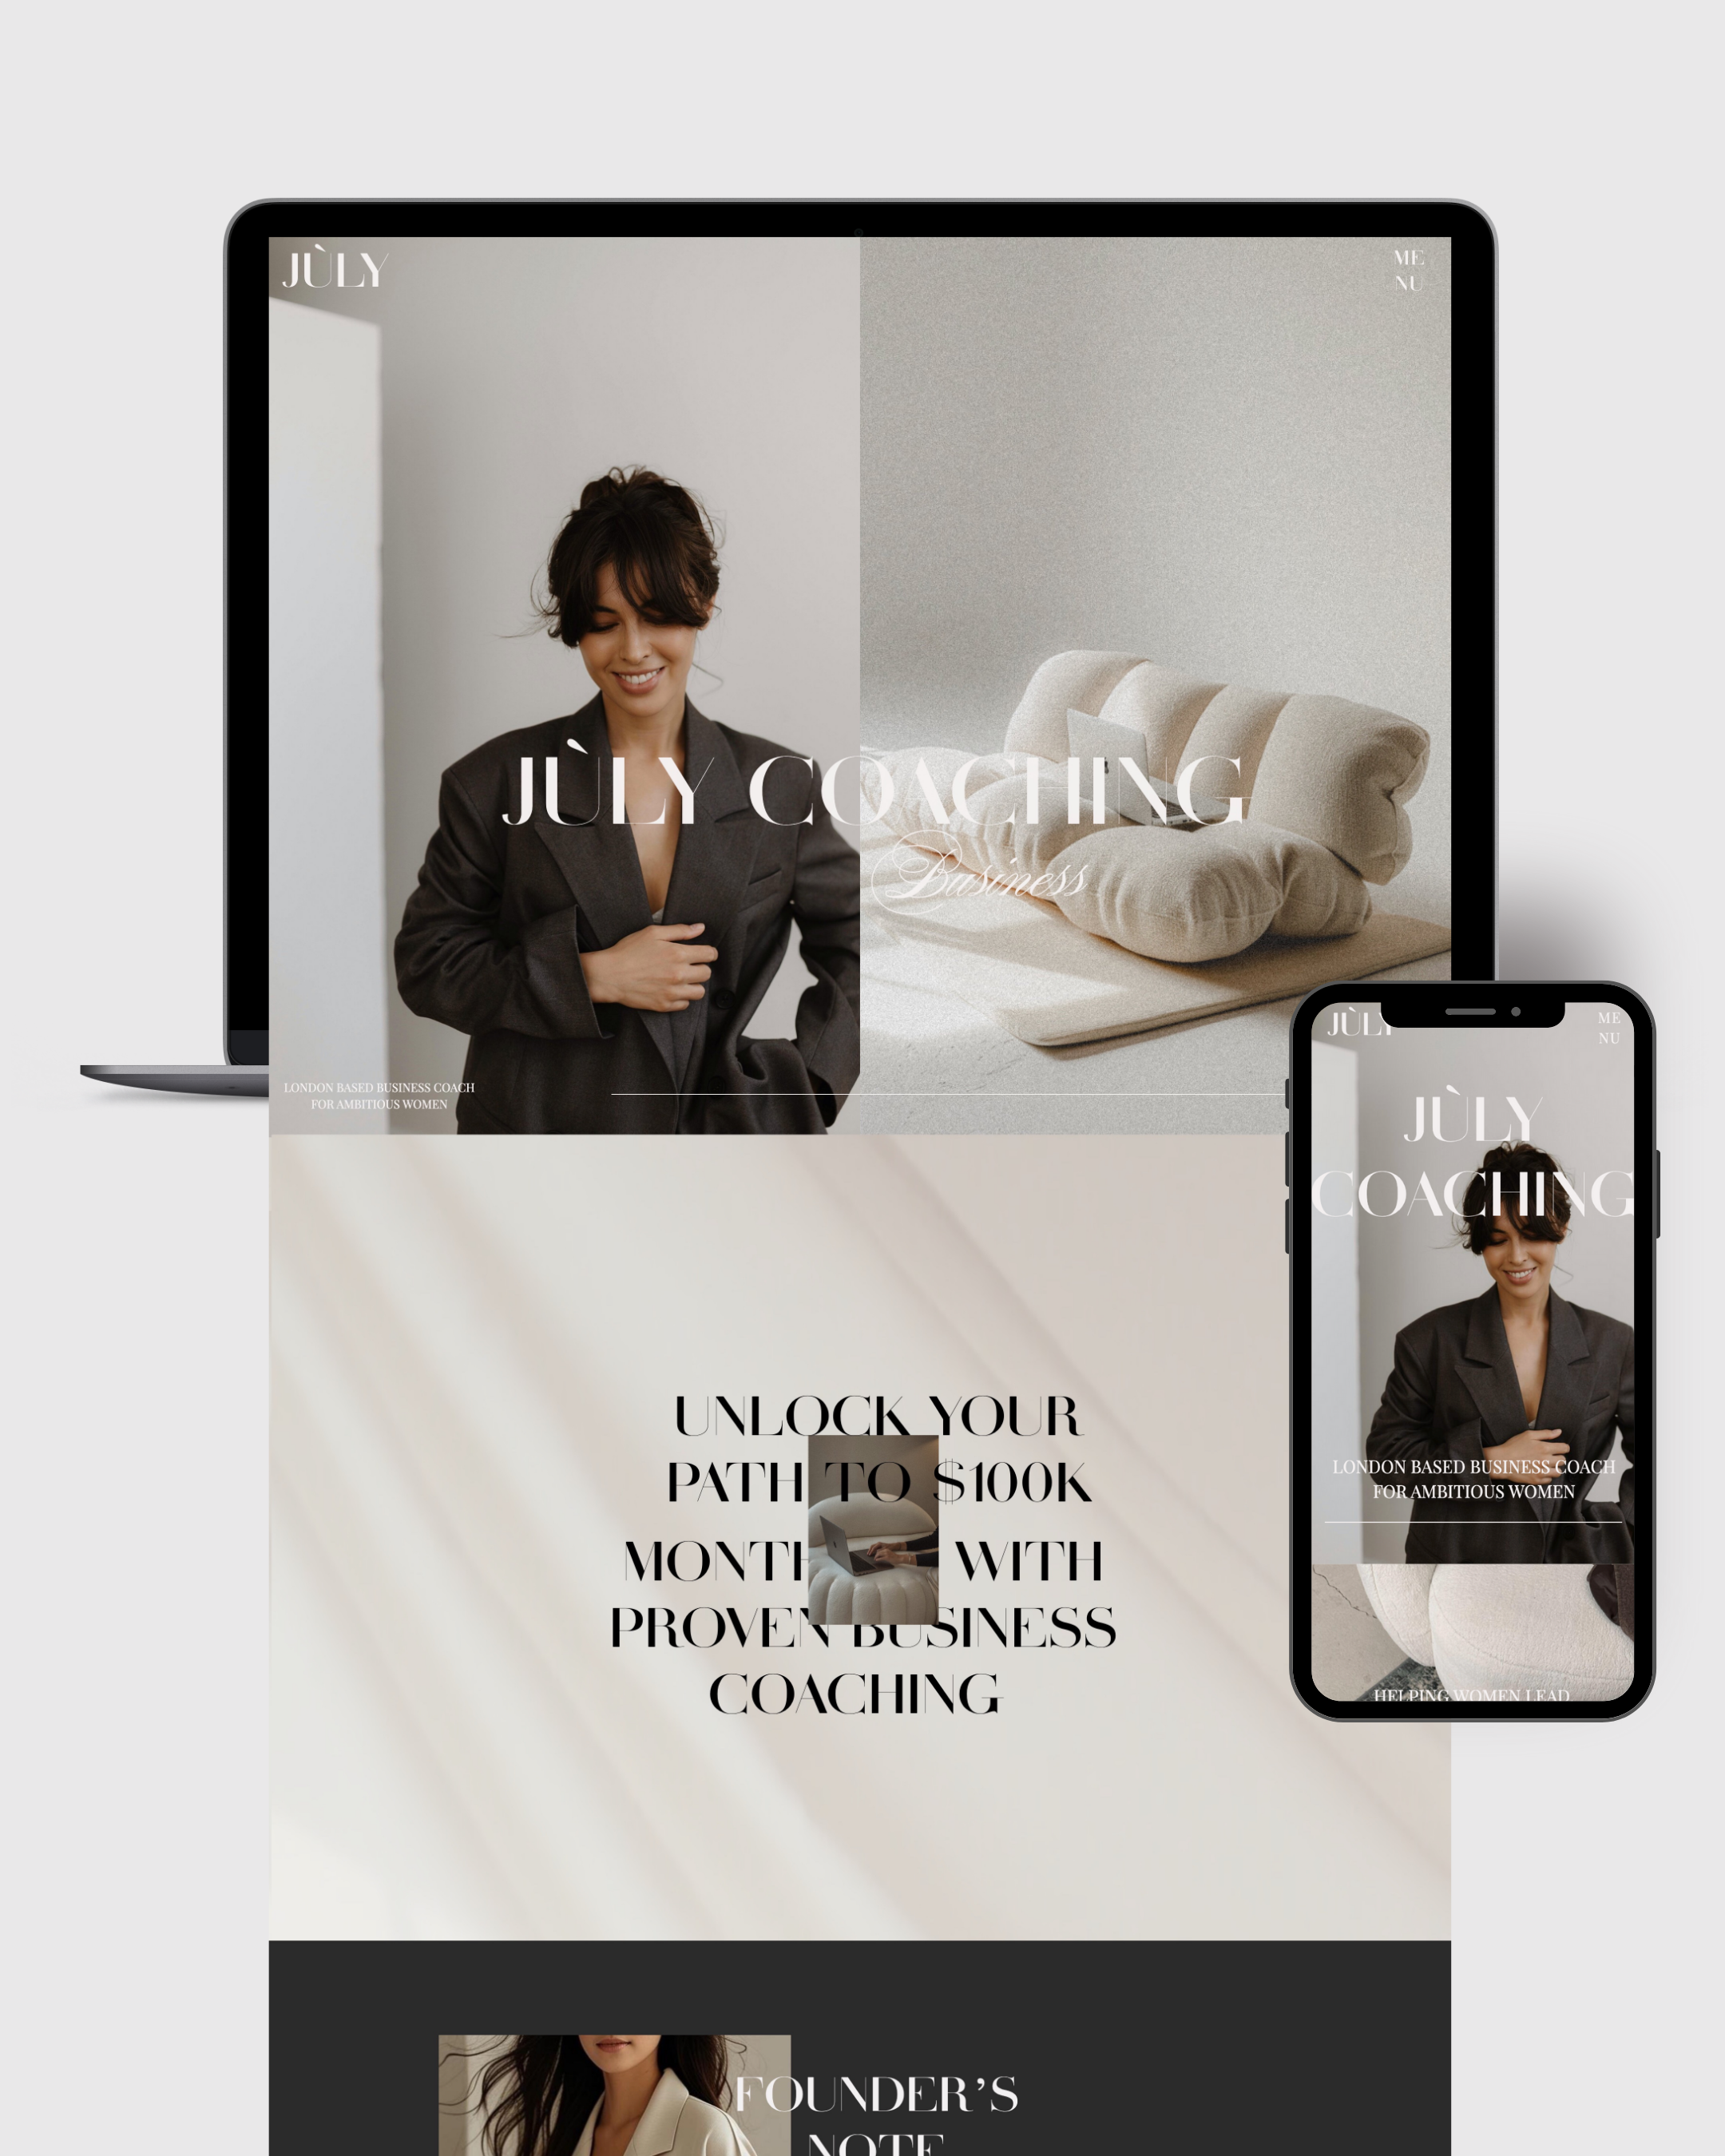
Step 3: Edit Your Home Page for Clarity and Flow
The homepage sets the tone—visually, emotionally, and strategically.
Here’s what to prioritize:
-
Headline: What do you do, and for whom? This should be punchy and clear.
-
Intro Copy: A few warm, engaging sentences that express who you are and your value.
-
CTA (Call-to-Action): Guide the visitor. “View My Work,” “Browse Weddings,” “Inquire Now,” etc.
-
Featured Images or Gallery Strip: Show your best work—but keep it minimal for impact.
-
Navigation Menu: Update to reflect your actual pages.
Make sure your mobile layout is equally strong. In Showit, mobile edits are separate—so you can reformat content specifically for small screens.
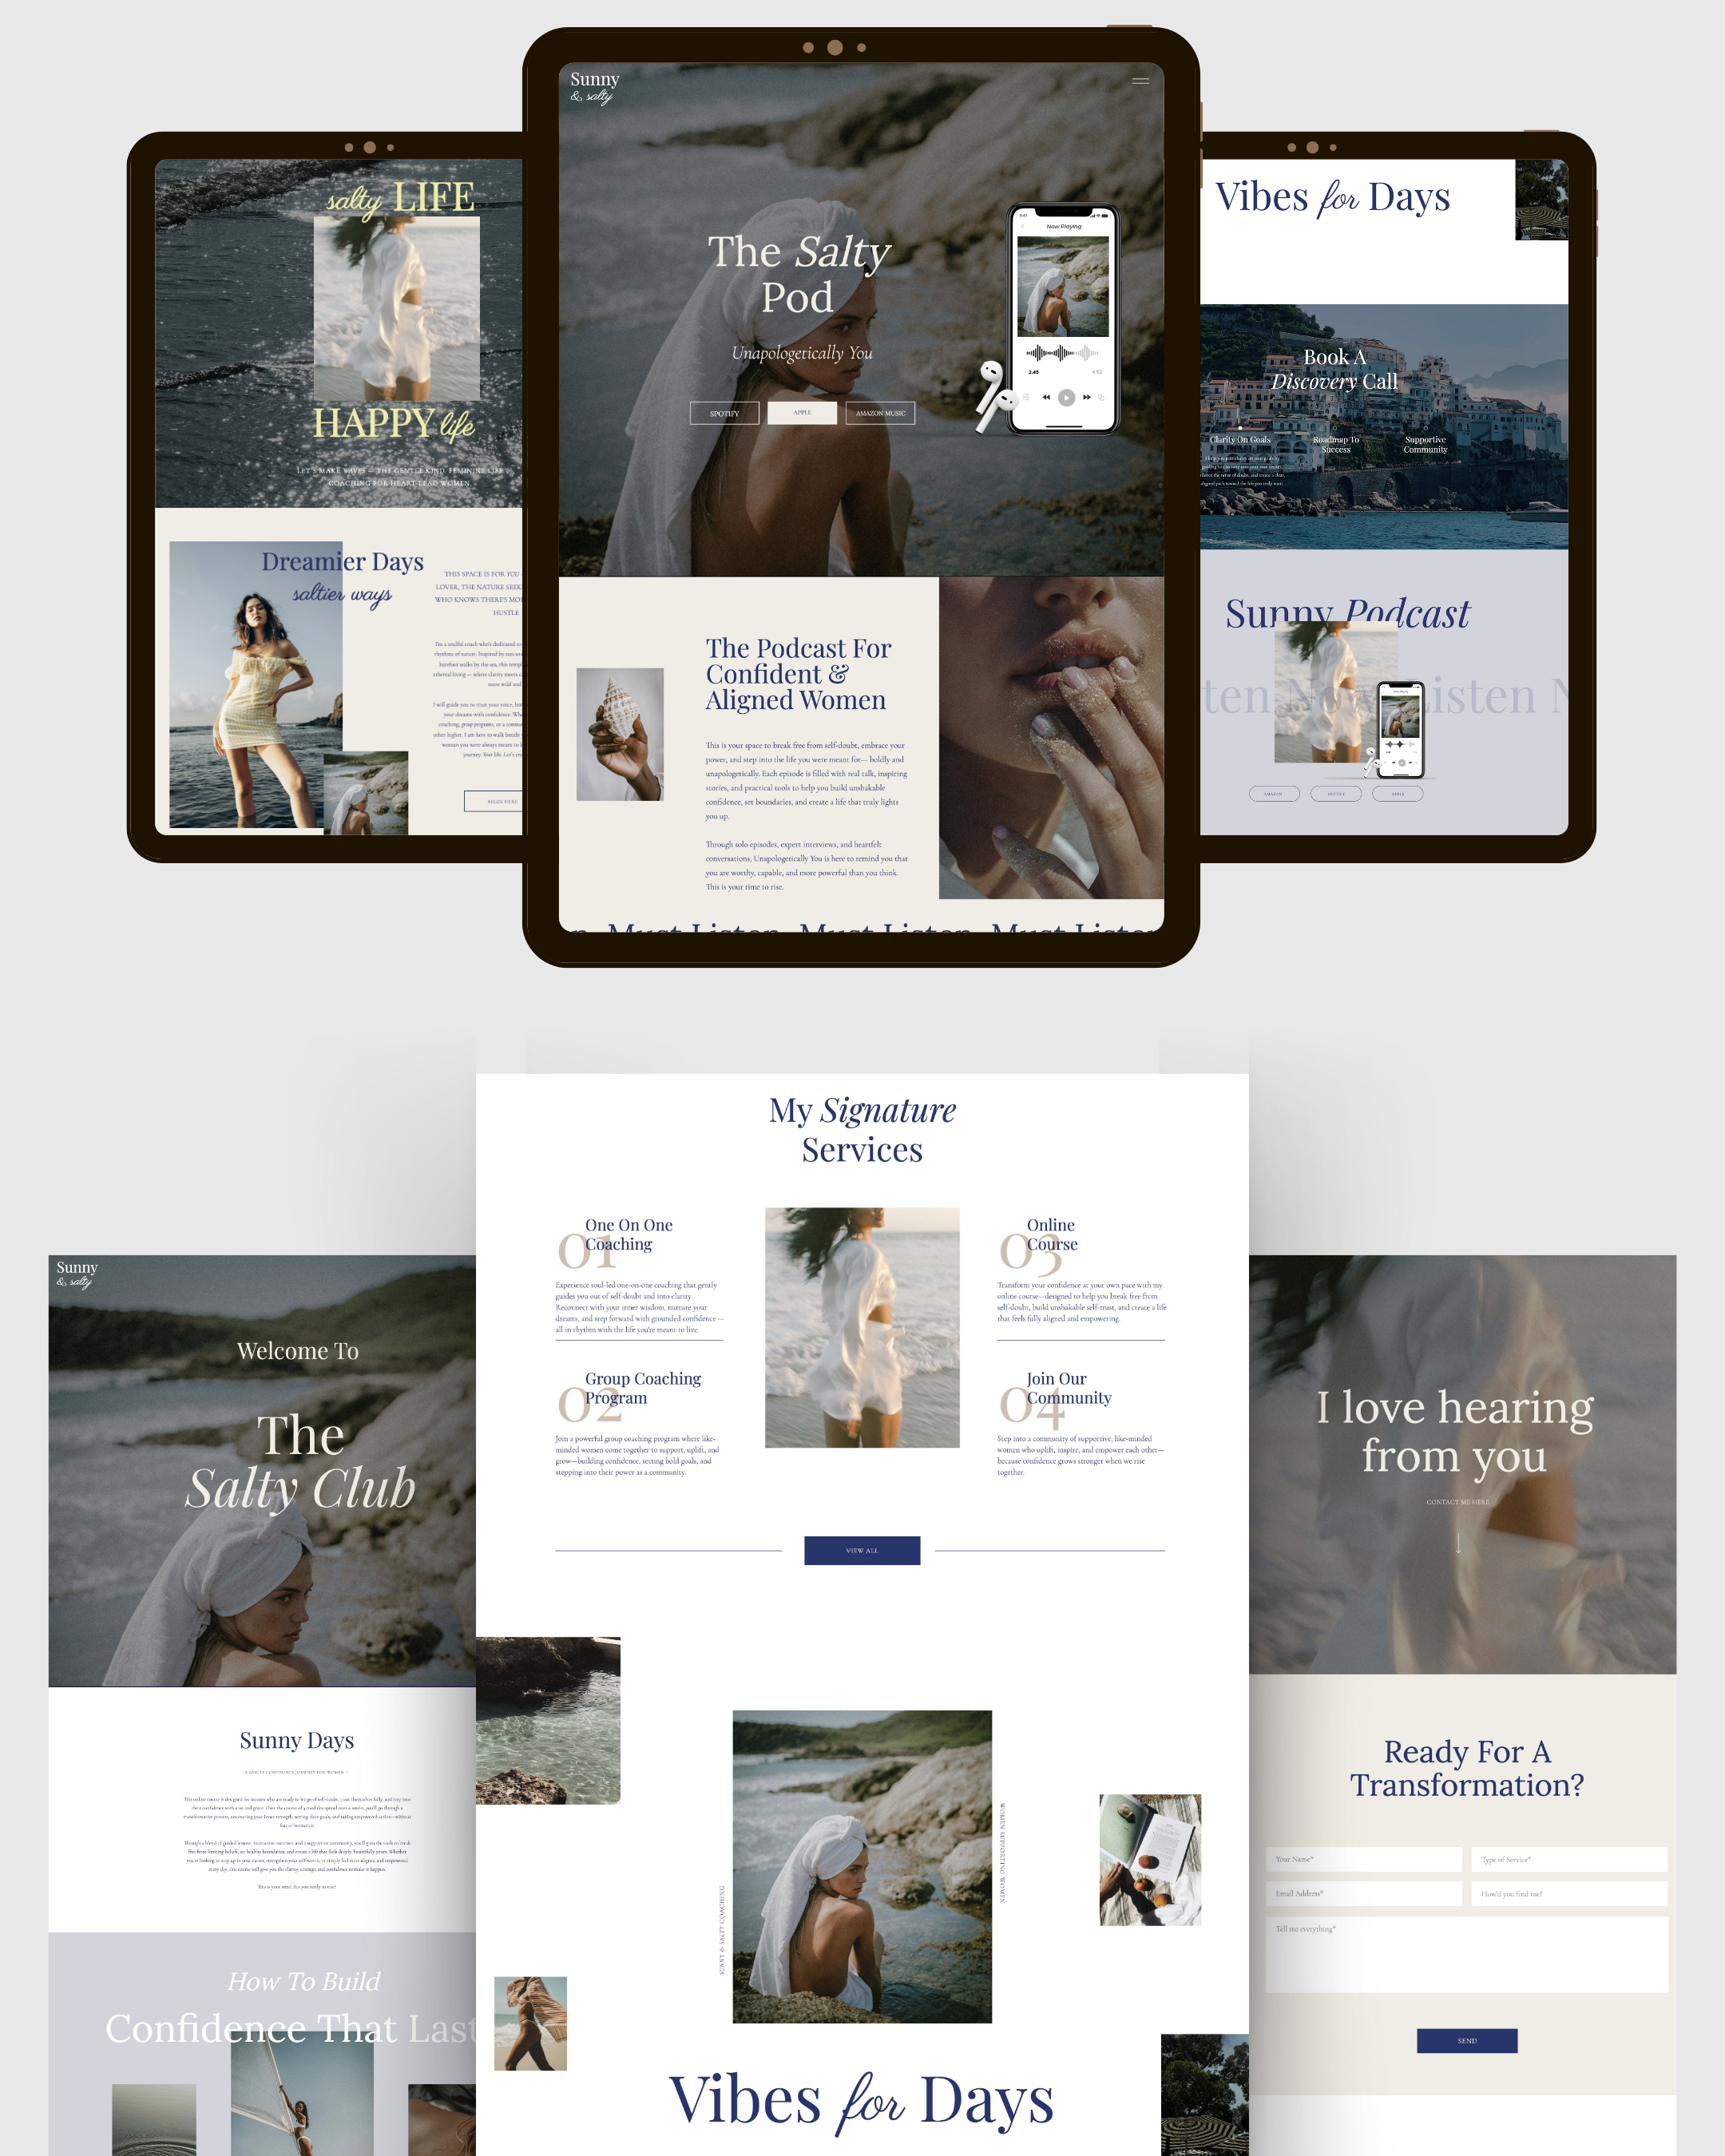
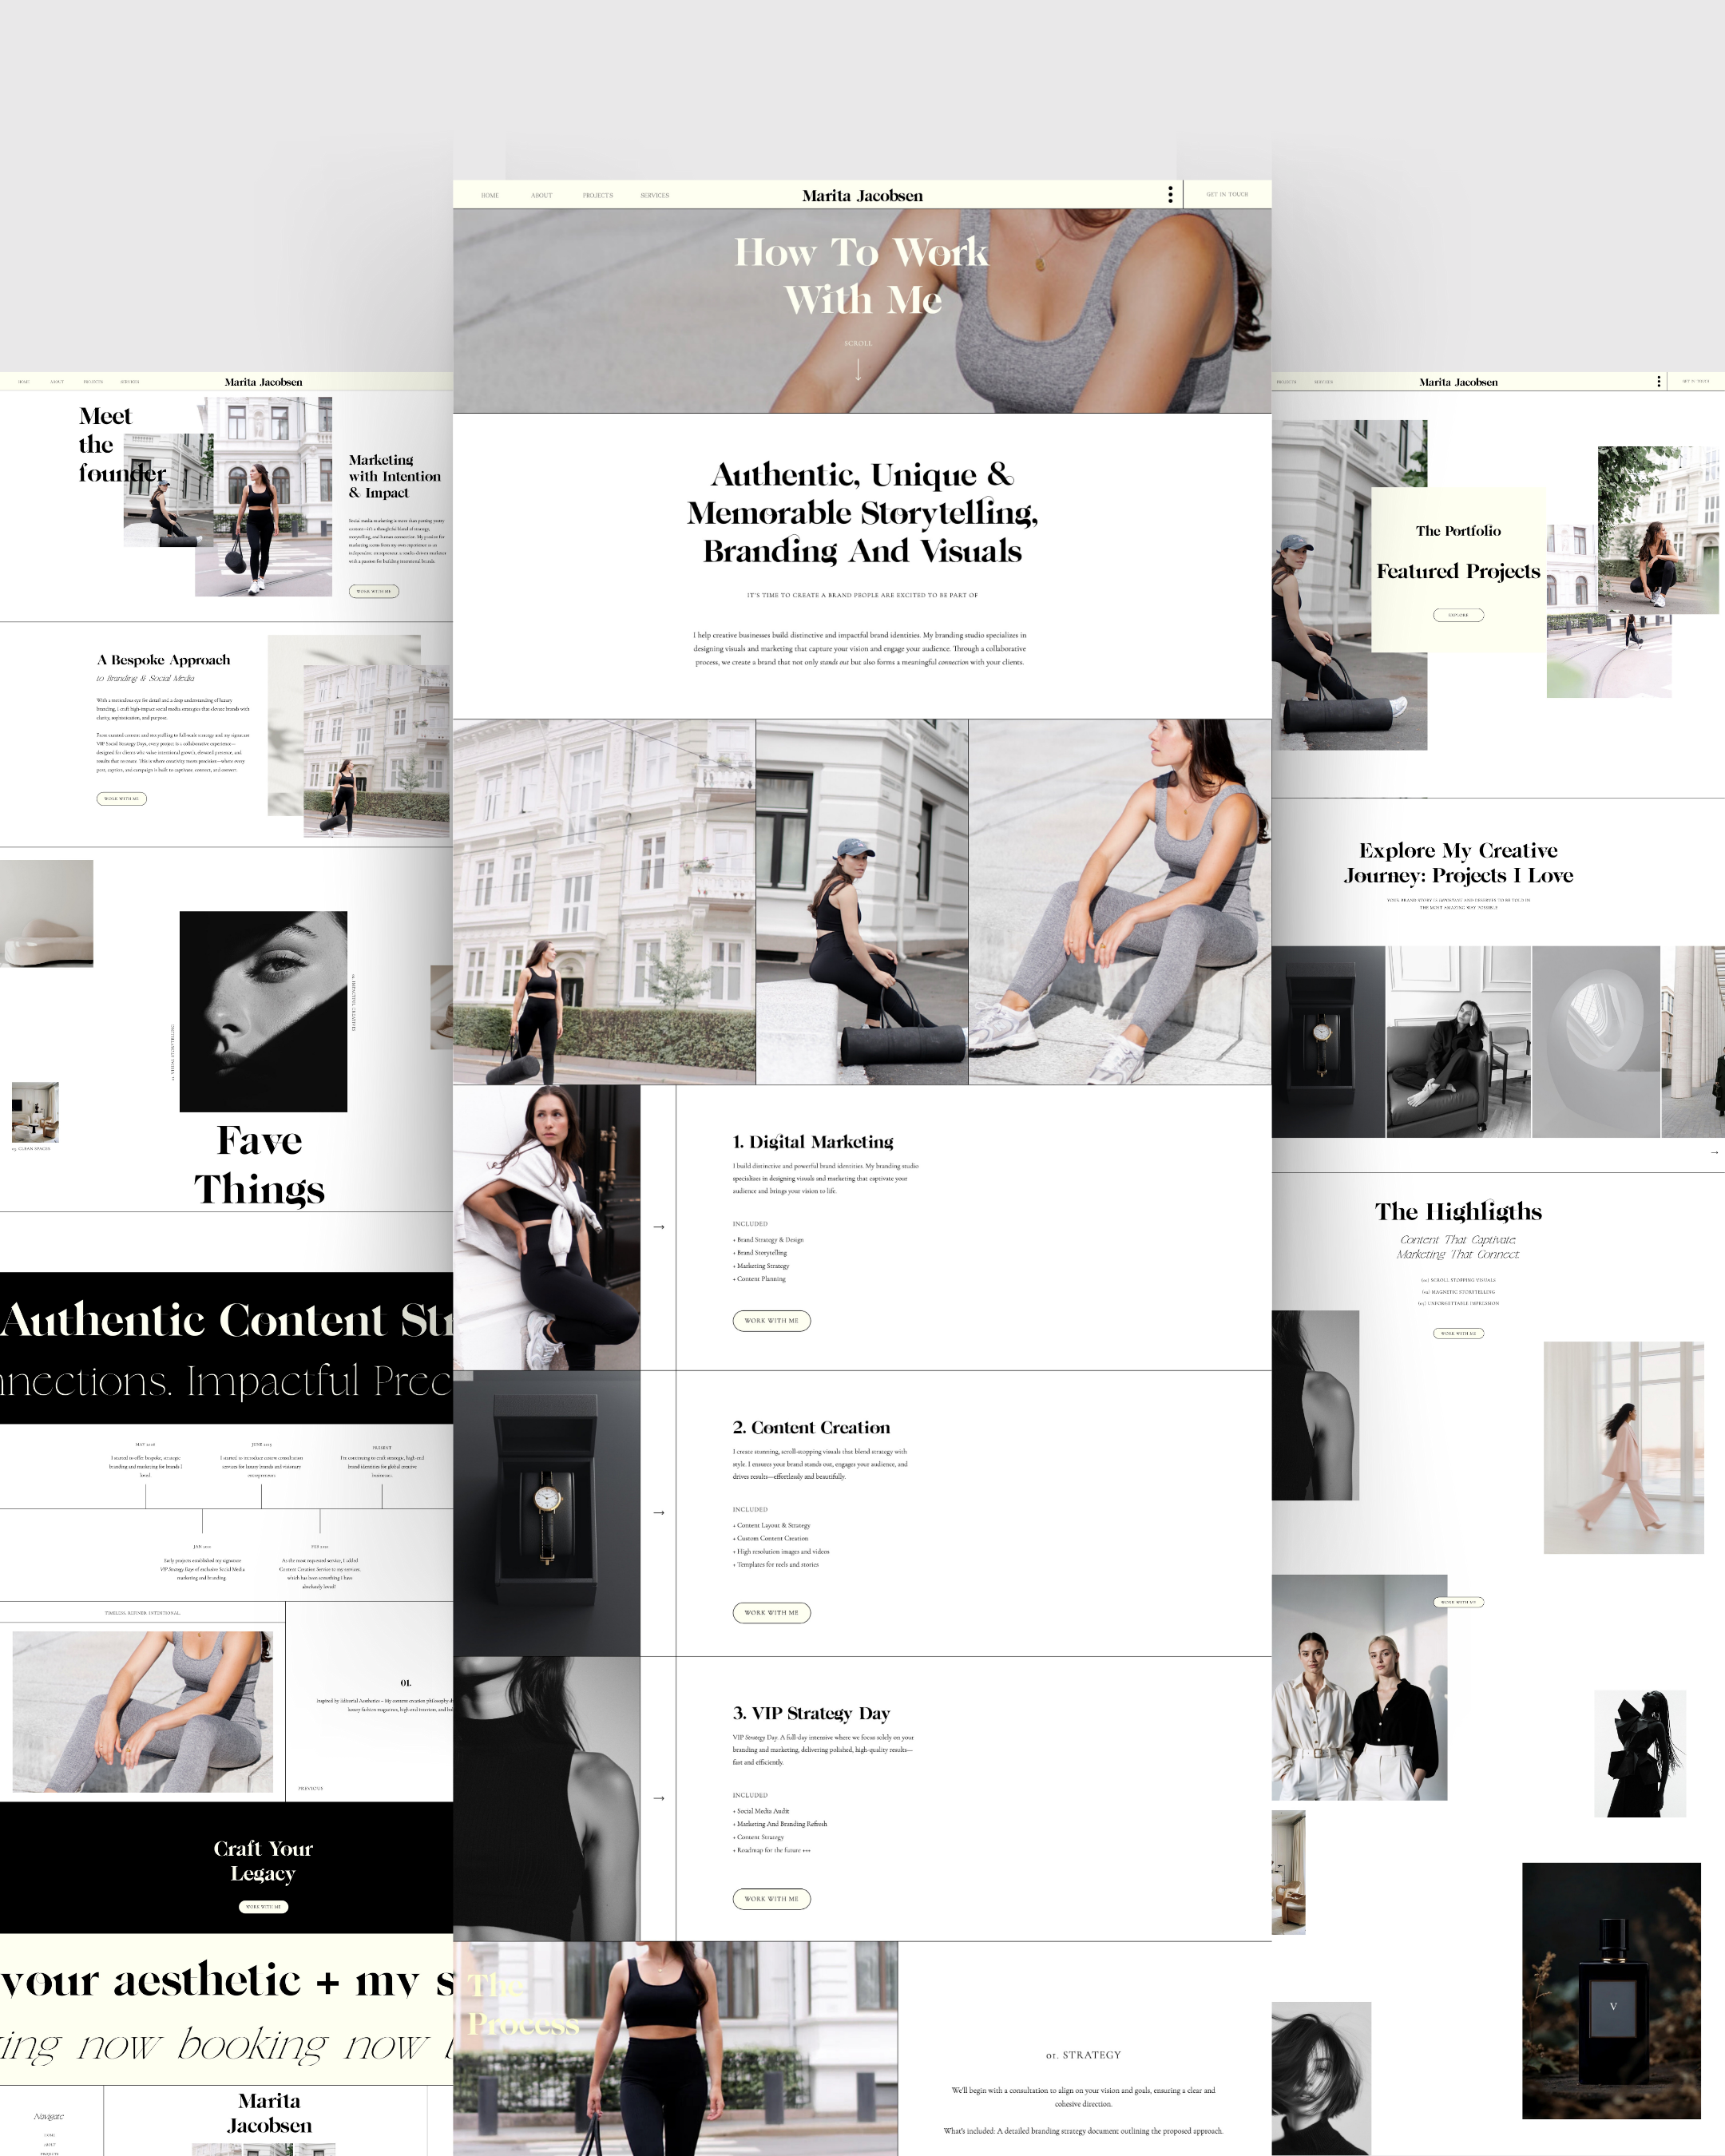
Step 4: Build Your Portfolio Pages
Galleries are your selling point. Here’s how to build ones that convert:
-
Curate intentionally.
Choose full wedding stories, not just highlight reels. Potential clients want to see how you handle all parts of a wedding day—from prep to reception. -
Organize by category.
You can create separate galleries for:-
Featured weddings
-
Elopements
-
Editorial shoots
-
Seasonal or destination-based work
-
-
Use captions (optional).
Adding brief captions—like couple names, locations, or context—can create an emotional connection. -
Optimize images for speed.
Upload images around 300–500kb for faster loading. Showit recommends JPEGs for best performance.
Step 5: Rewrite Your About Page in Your Own Voice
The About Page is your brand’s personality in written form.
Here’s a formula to follow:
-
Intro Paragraph: Who you are and what you do.
-
Your Approach: How you photograph weddings—your philosophy, your process.
-
Personal Note: A fun or heartfelt detail that helps people remember you (your love for oat milk lattes, vintage cameras, your rescue dog).
-
Call-to-Action: Guide the reader toward exploring your portfolio or inquiring.
This is not the place to be overly formal. Be human. Be real. Be memorable.
Step 6: Update Your Services or Investment Page
Don’t skip this one. A clear, confident Services page builds trust.
What to include:
-
Your packages (starting at X price)
-
What's included: Hours, gallery delivery, travel, add-ons
-
Process overview: What happens after they inquire
-
FAQs: Address common concerns (turnaround time, travel fees, etc.)
-
Call-to-Action: “Let’s Talk,” “Send an Inquiry,” etc.
If you don’t want to show full pricing, include “Starting at” numbers to pre-qualify.
With templates like Love Love, this page is already structured—you just have to swap in your details.
Step 7: Set Up and Customize Your Contact Page
Make this page welcoming and easy.
Include:
-
A warm greeting
-
Your contact form (keep it short)
-
A backup email address
-
Optional FAQs or “what to expect” messaging
Pro tip: Test your form. Always.
Step 8: Connect Your Domain and Blog
When you're ready to go live:
-
Connect your domain
You’ll do this by updating DNS settings through your domain provider (Showit support can help if needed). -
Launch your blog
If you chose a blog plan, Showit will set up your WordPress blog for you. You'll get login details and can start posting right away.
Want a few blog post ideas to start?
-
Real weddings
-
Venue spotlights
-
Wedding planning tips
-
“Why I Became a Wedding Photographer” (emotive storytelling sells!)
Don’t forget to optimize for SEO: use keywords, alt text, and proper headings.
Frequently Asked Customization Questions
Q: Can I change the layout or add new pages?
Yes—everything is customizable. Want a press page, podcast page, or shop? You can duplicate existing pages or create new ones from scratch using Showit’s drag-and-drop tools.
Q: What if I mess something up?
Showit offers real-time previews, and you can always undo or restore from backups. Plus, if you’re using a Fjōr Avenue template, you’ll receive a full step-by-step guide.
Q: Do I need to know how to code?
Not at all. You can customize everything without touching a single line of code.
Final Touches Before You Launch
Before hitting publish, run through this mini pre-launch checklist:
-
Test all buttons and links
-
Proofread every page
-
Optimize for mobile view
-
Upload favicon (that little logo in the browser tab)
-
Set SEO titles + meta descriptions
-
Connect analytics tools (Google Analytics, Pinterest tag, Facebook pixel)
-
Share your new site everywhere (email, IG, Pinterest, vendor friends)
Why Start with a Template Instead of from Scratch?
You’re a photographer, not a full-time web designer. Templates allow you to:
-
Save weeks of time
-
Start with a proven layout strategy
-
Customize everything to your brand
-
Launch confidently without hiring a developer
The Love Love template, for example, was designed specifically for wedding photographers who want a soft, romantic, editorial site with real strategy built in. It's mobile-optimized, SEO-ready, and beautiful right out of the box.
The Takeaway
Customizing your Showit template is more than just a design task—it’s an act of intention. It’s about building a brand experience that mirrors the emotional depth and visual beauty of the work you create.
When you take the time to tailor your website to your style, your message, and your dream clients, you’re not just launching a site. You’re creating a magnet for aligned bookings.
And with a template like Love Love as your foundation, that process becomes easier, more beautiful, and way more fun.
Ready to build a website that does justice to your work?
Explore the Love Love template today and see how effortless Showit customization can truly be.


